1. Mesh Types, Colors, and Optical Qualities
Mesh Types (1:47)
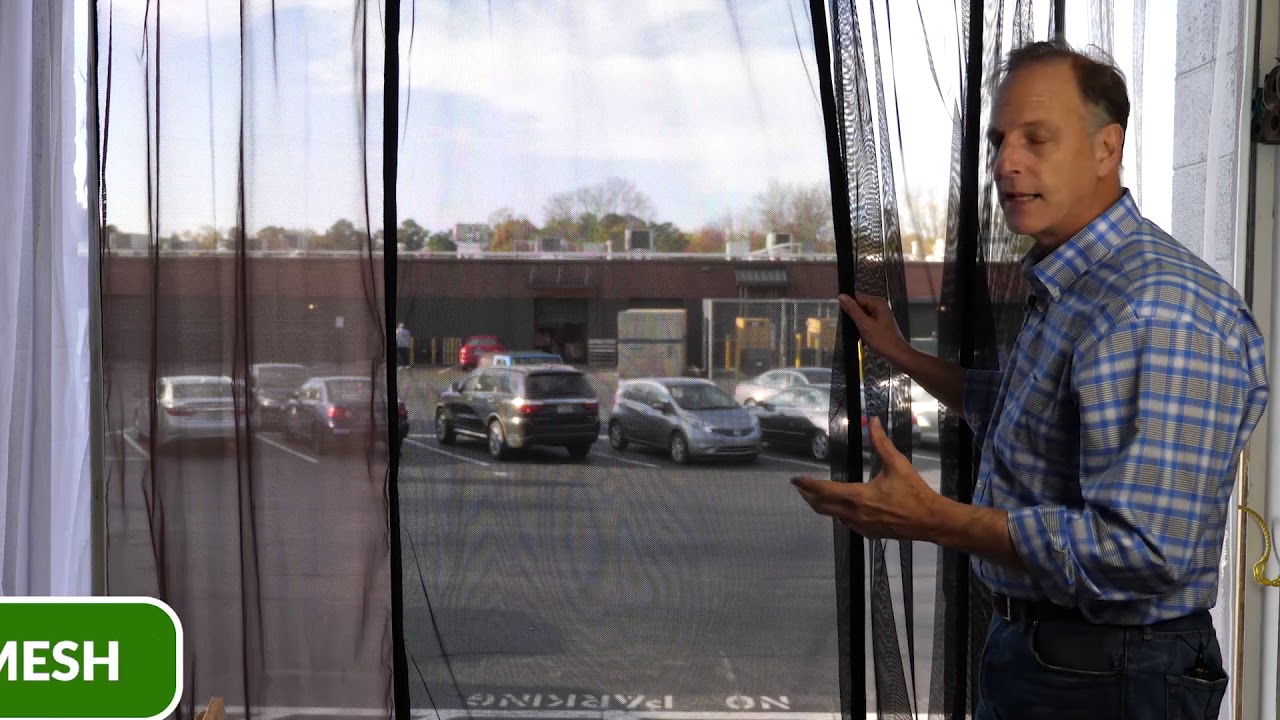
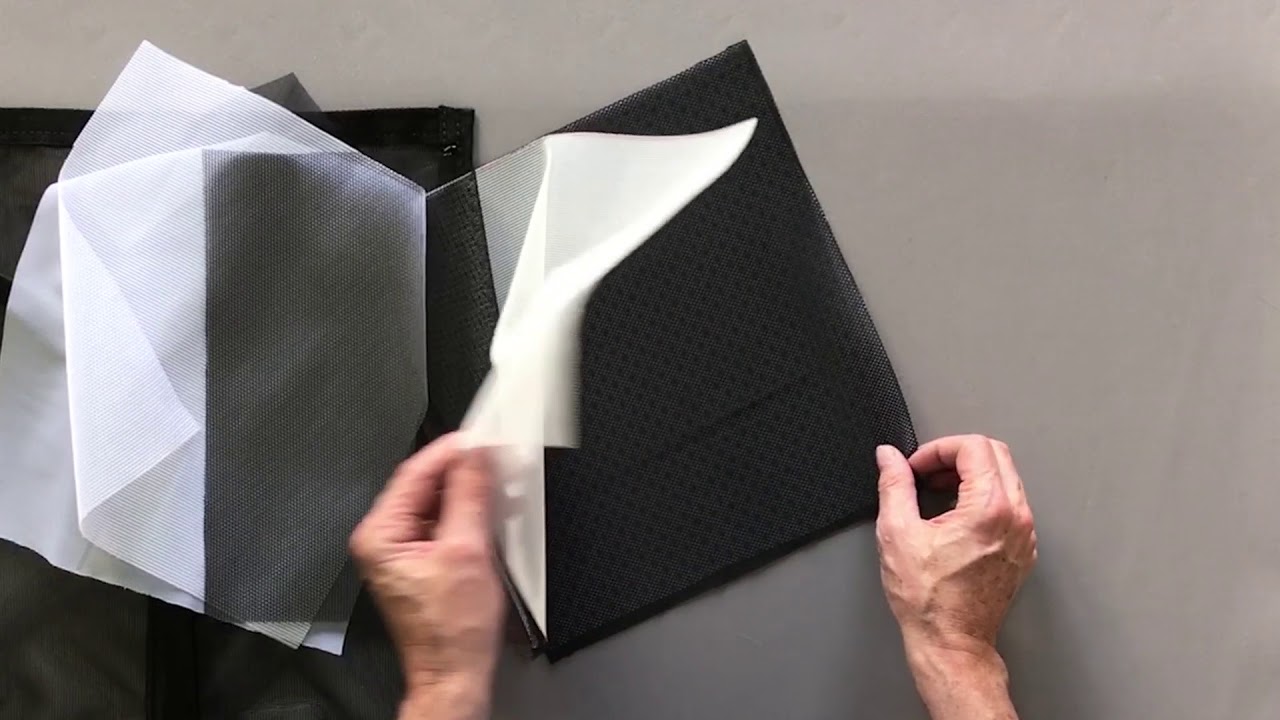
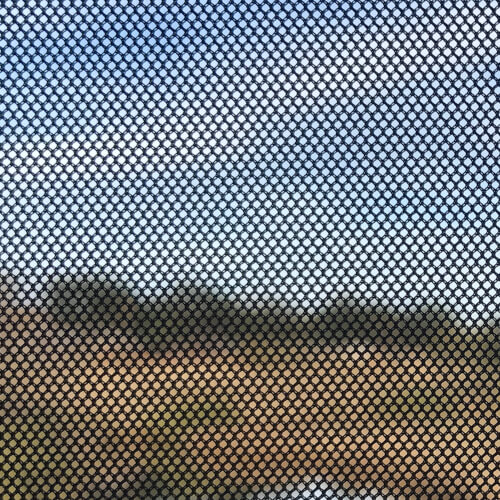
See Through Each Mesh (4:00)
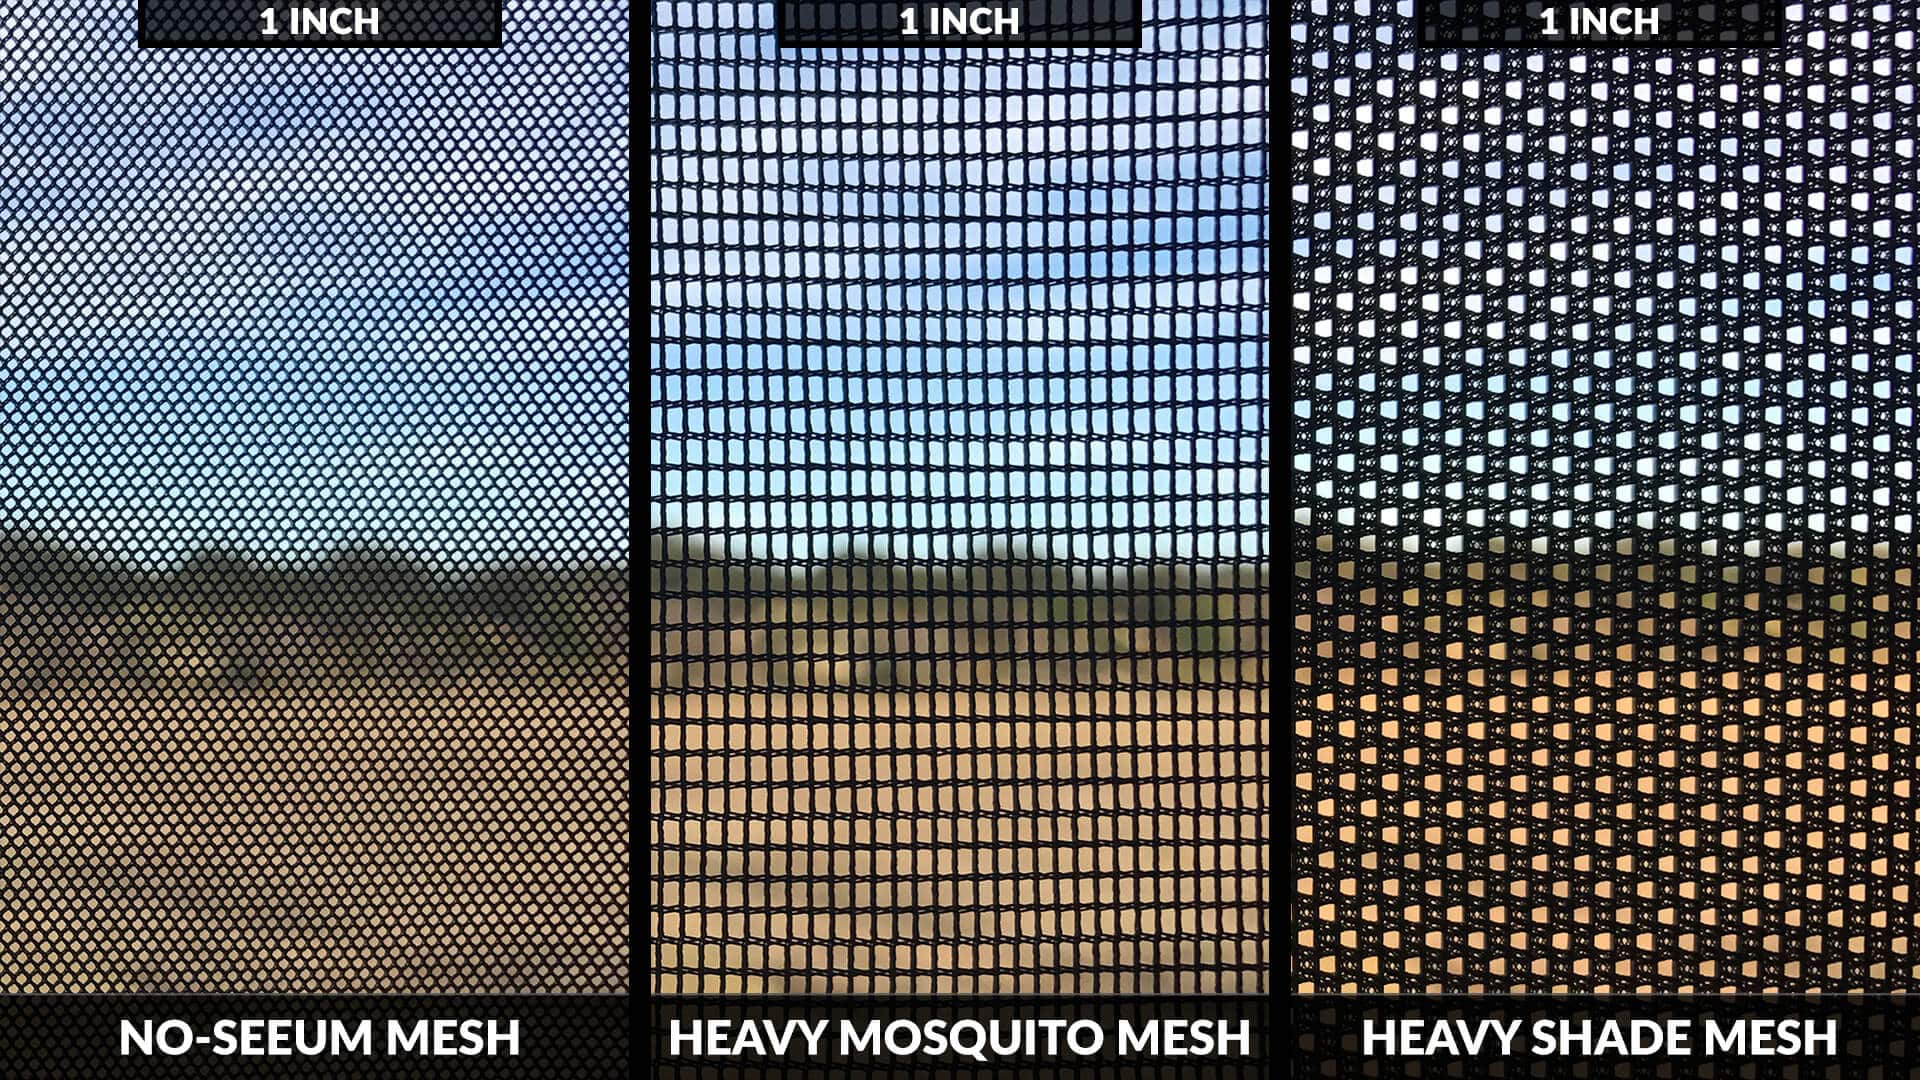
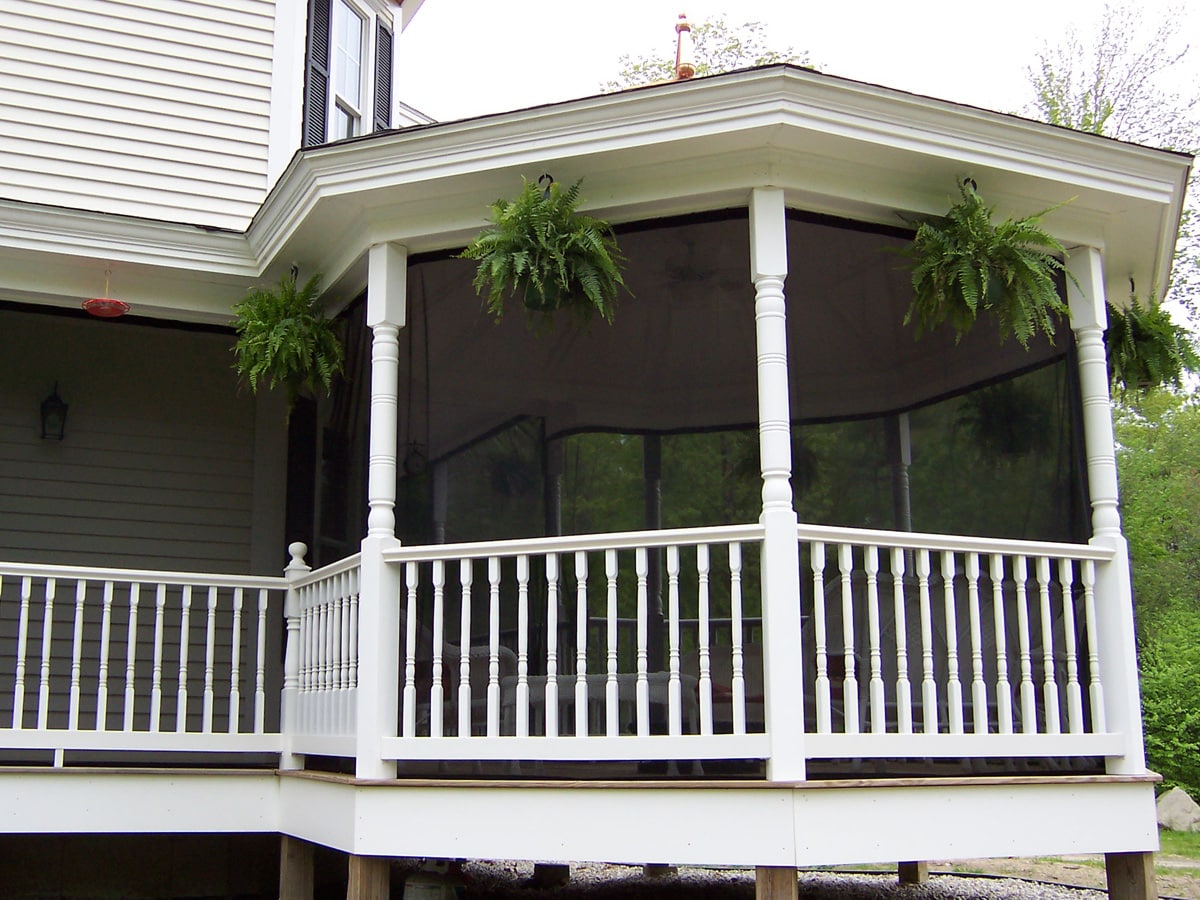
Black Mesh Types Side By Side
Mesh types and colors to choose from
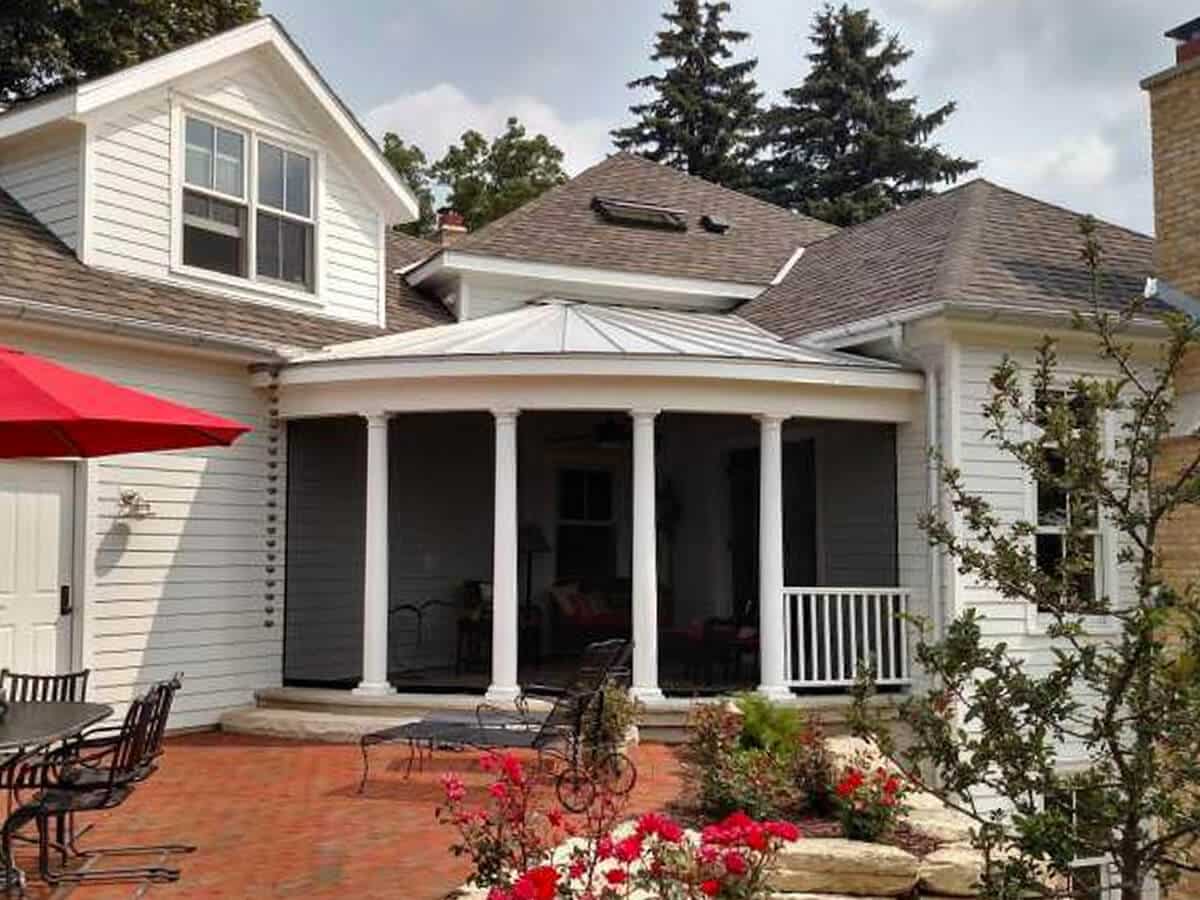
All fabrics are 100% polyester. 90% of orders choose Heavy Mosquito Mesh because it allows the best air flow & visibility.
No-see-um mesh is a finer weave for a very particular biting midge fly that is about as big as a ridge and a half of your fingerprint. Shade Mesh blocks both flying insects and 80% of the sunlight.
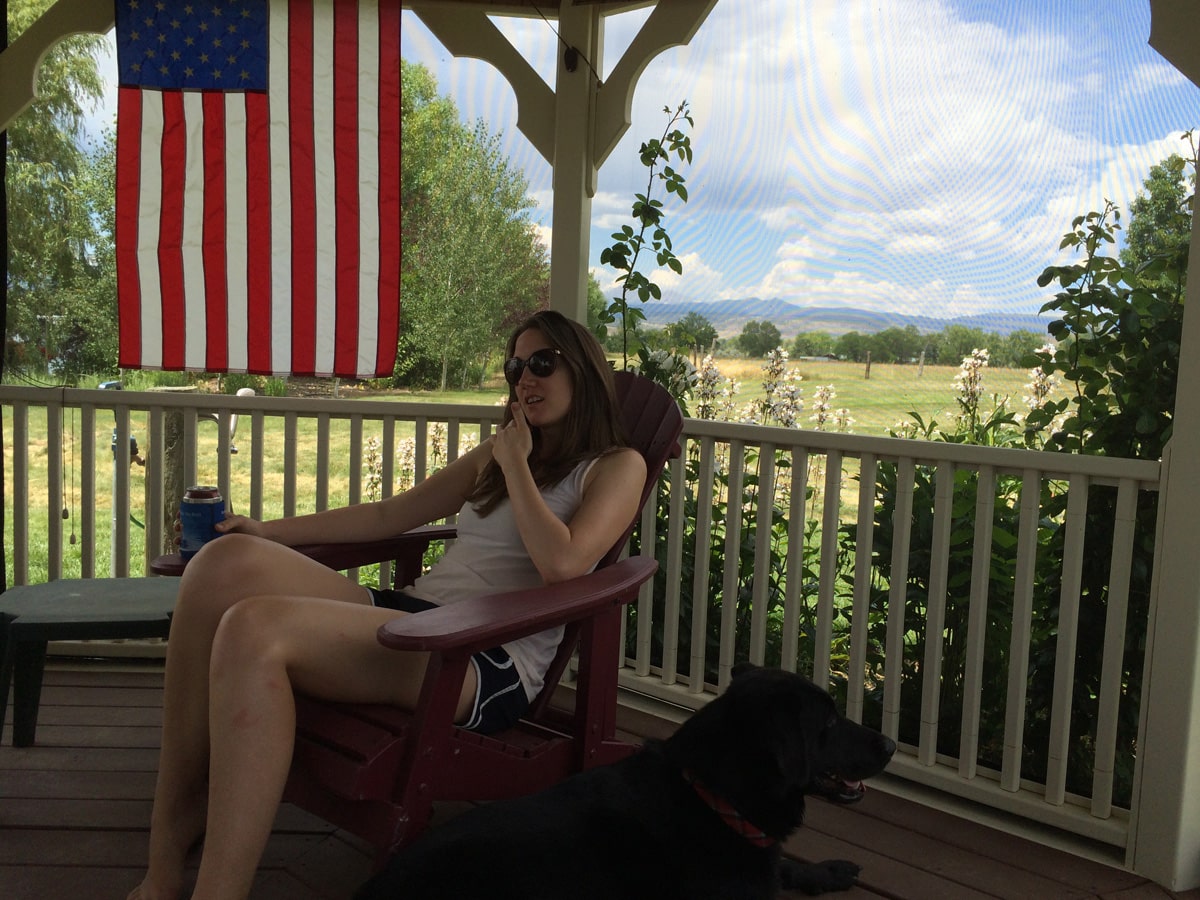
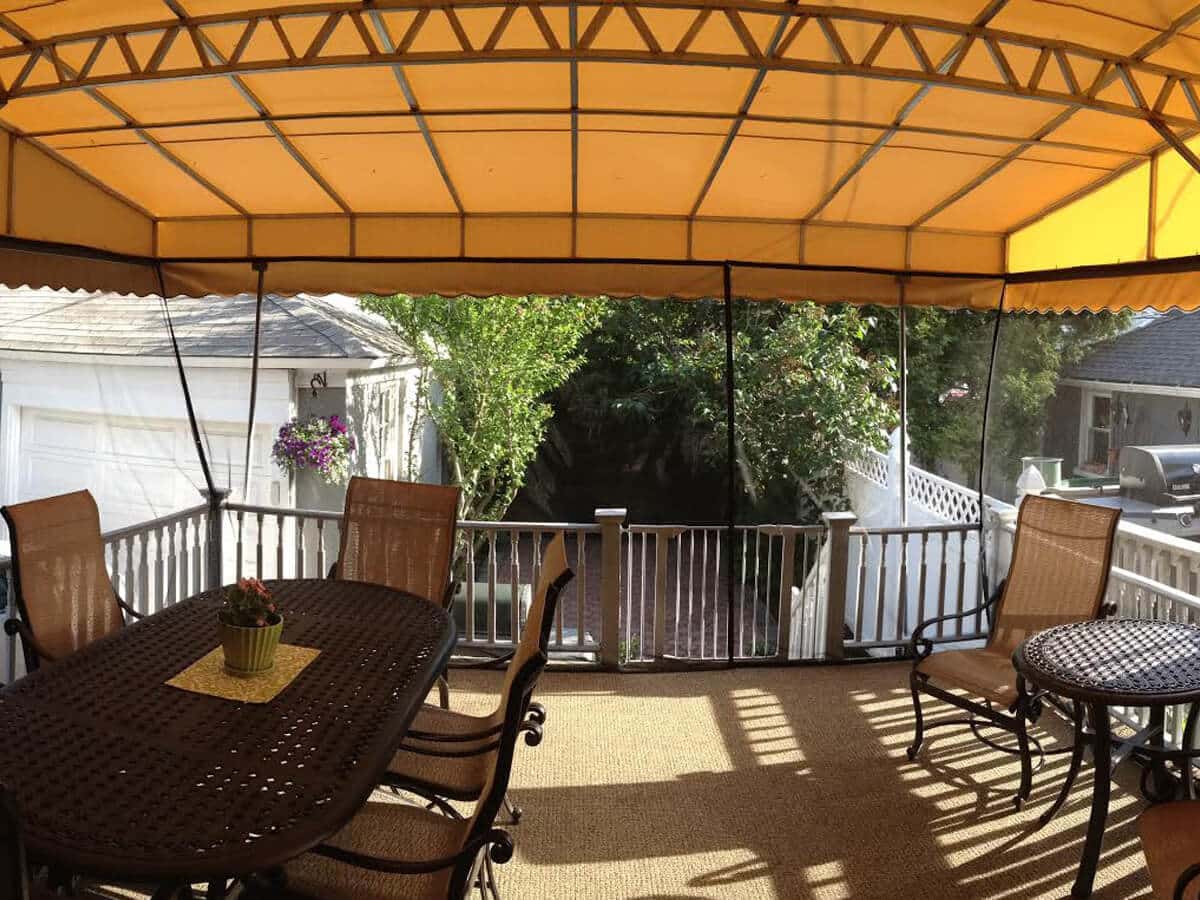
This page will give you the details on each so you can make a decision on what best fits your application. Black has best clarity and white is “milky” to see through. See a video comparison here.
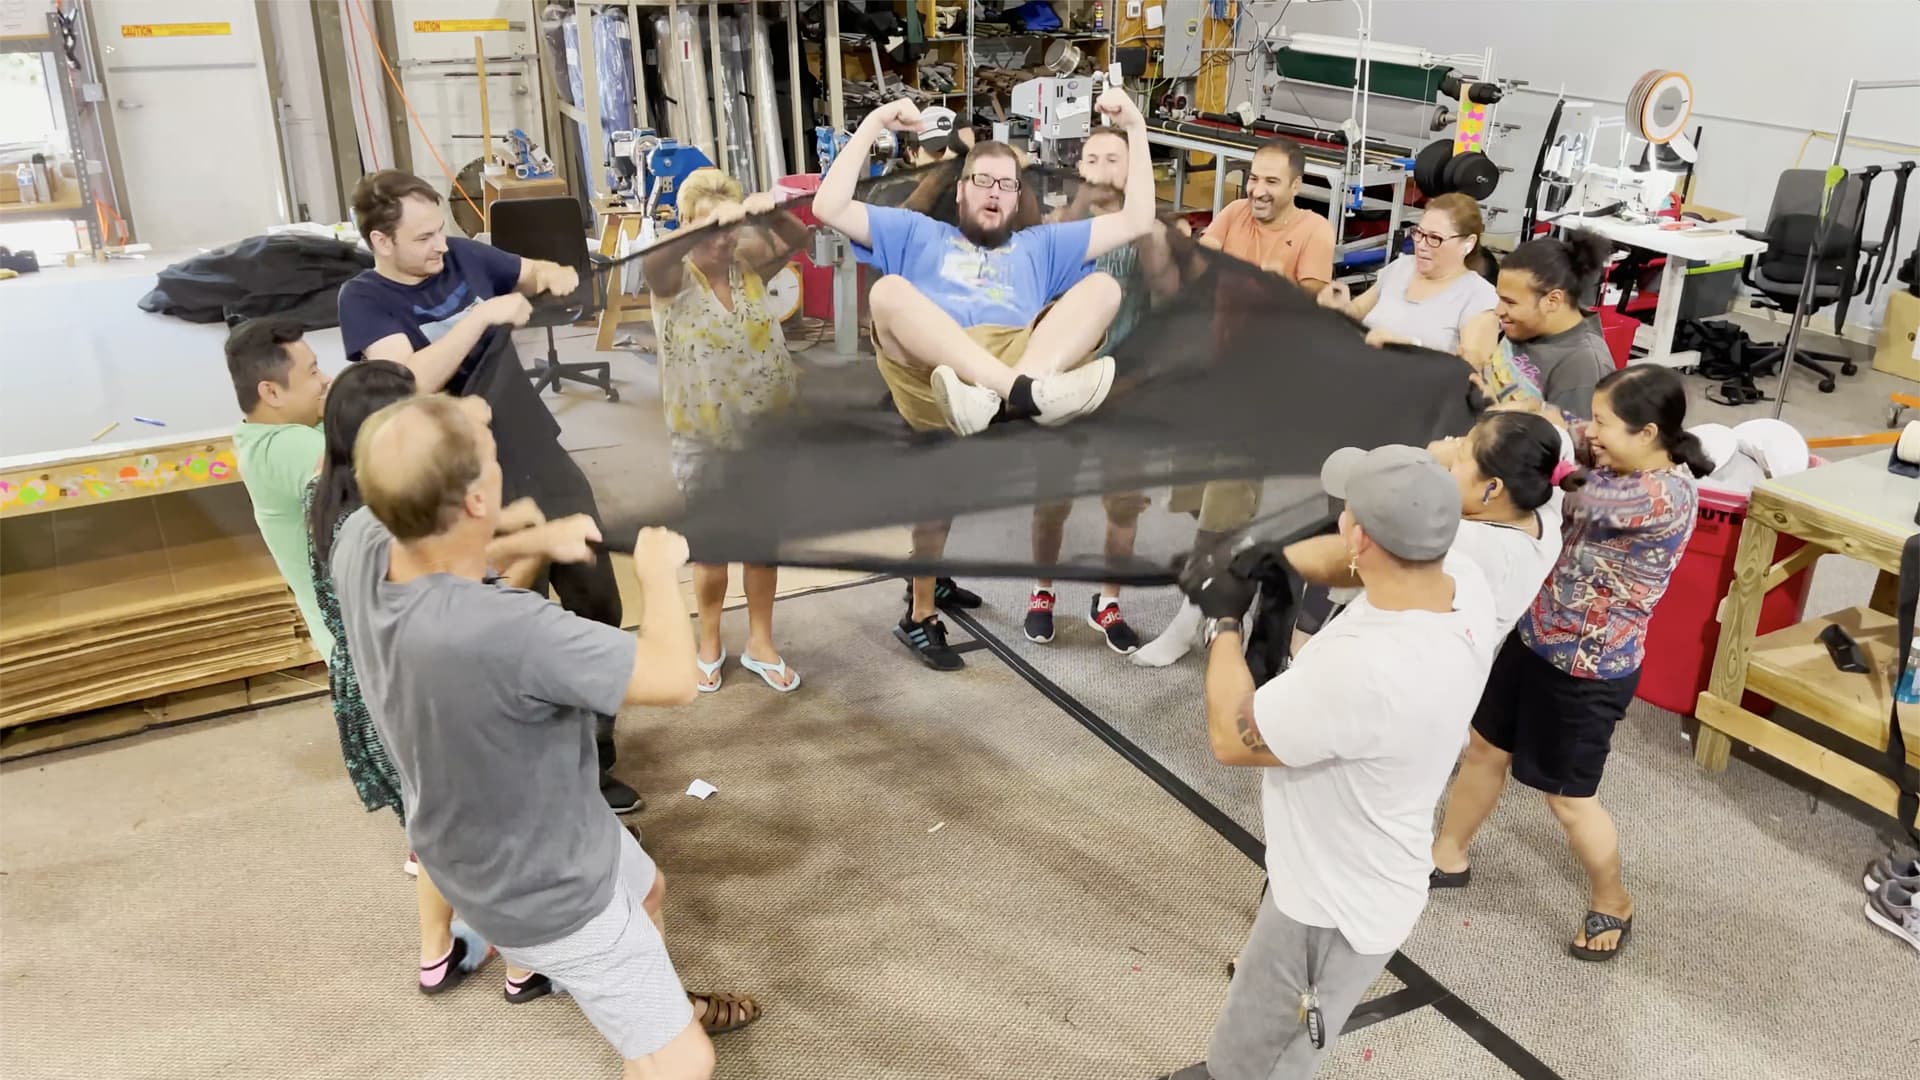
All Meshes Are Incredibly Strong. Strong Netting Lifts 240lb Man
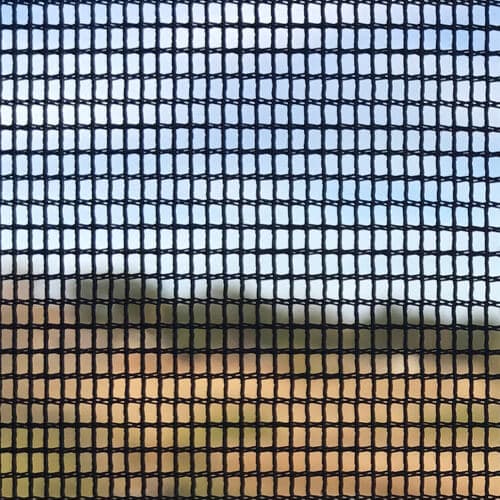
Heavy Mosquito Mesh (90% of all orders)
Heavy Mosquito Mesh has the best air flow with a hole count of 230 holes per sq inch in a rectangular grid pattern that will also stop small gnats and black flies (all flies except “no-see-ums”). If you don’t have no-see-um biting flies or don’t require shade, this is the mesh to choose.
When to Choose Heavy Mosquito Netting?
- Want maximum air flow.
- Do not have tiny biting flies called no-see-ums.
- See Video Comparison of all mesh types & colors here.

White Mosquito

White Mosquito
Black Mosquito
Black Mosquito
Ivory Mosquito
Heavy Mosquito Mesh
(90% Choose This in Black)
Black
White
Ivory
No-See-Um-Mesh
No-see-um Mesh looks more like a gorgeous black or white “sheer material” with an 800+ hole count used in coastal areas with extremely tiny biting flies known as no-see-ums (because they are too small to see).
When to Choose No-See-Um Netting?
- Only when you have this type of tiny biting fly
- Otherwise, use Mosquito Netting Mesh for better air flow
- See Video Comparison of all colors & mesh types here.
Black NoSeeUm
Black NoSeeUm
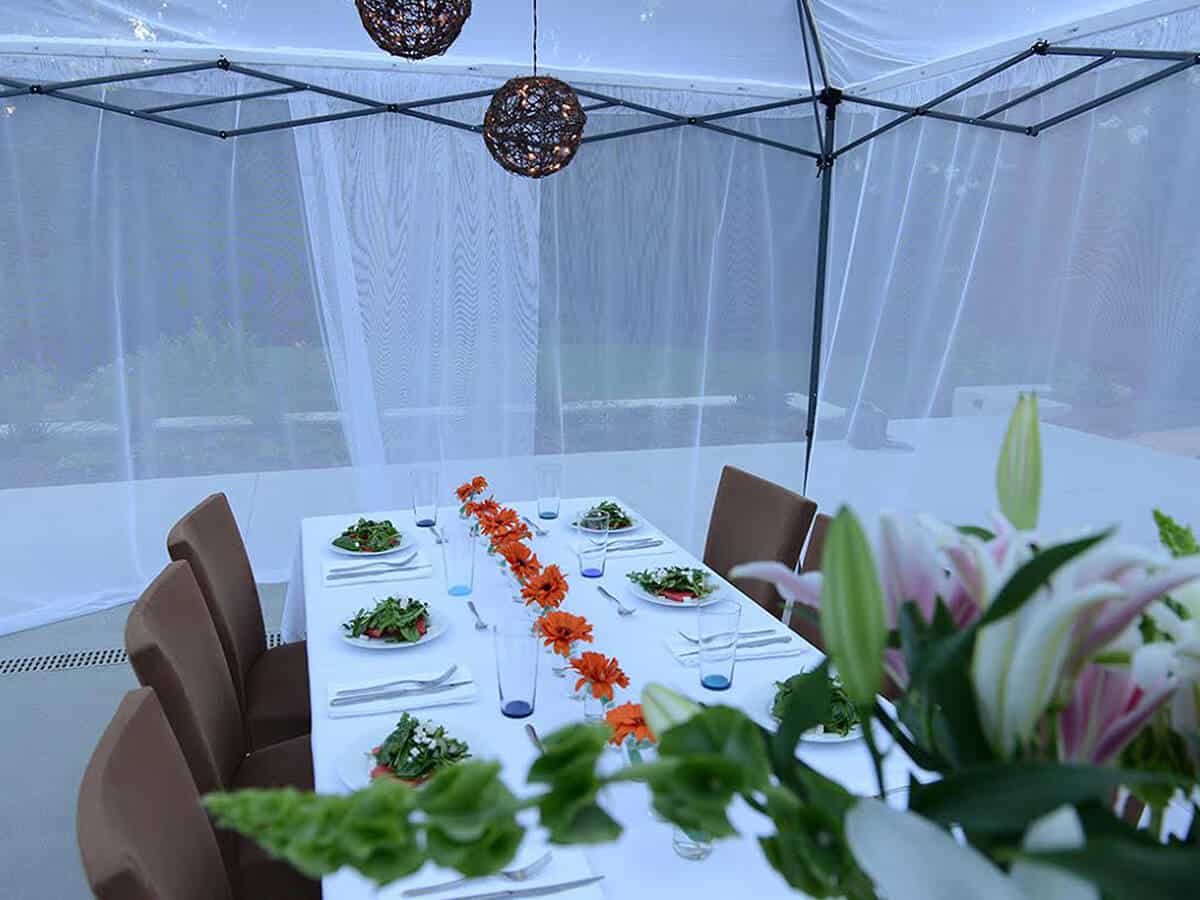
White NoSeeUm
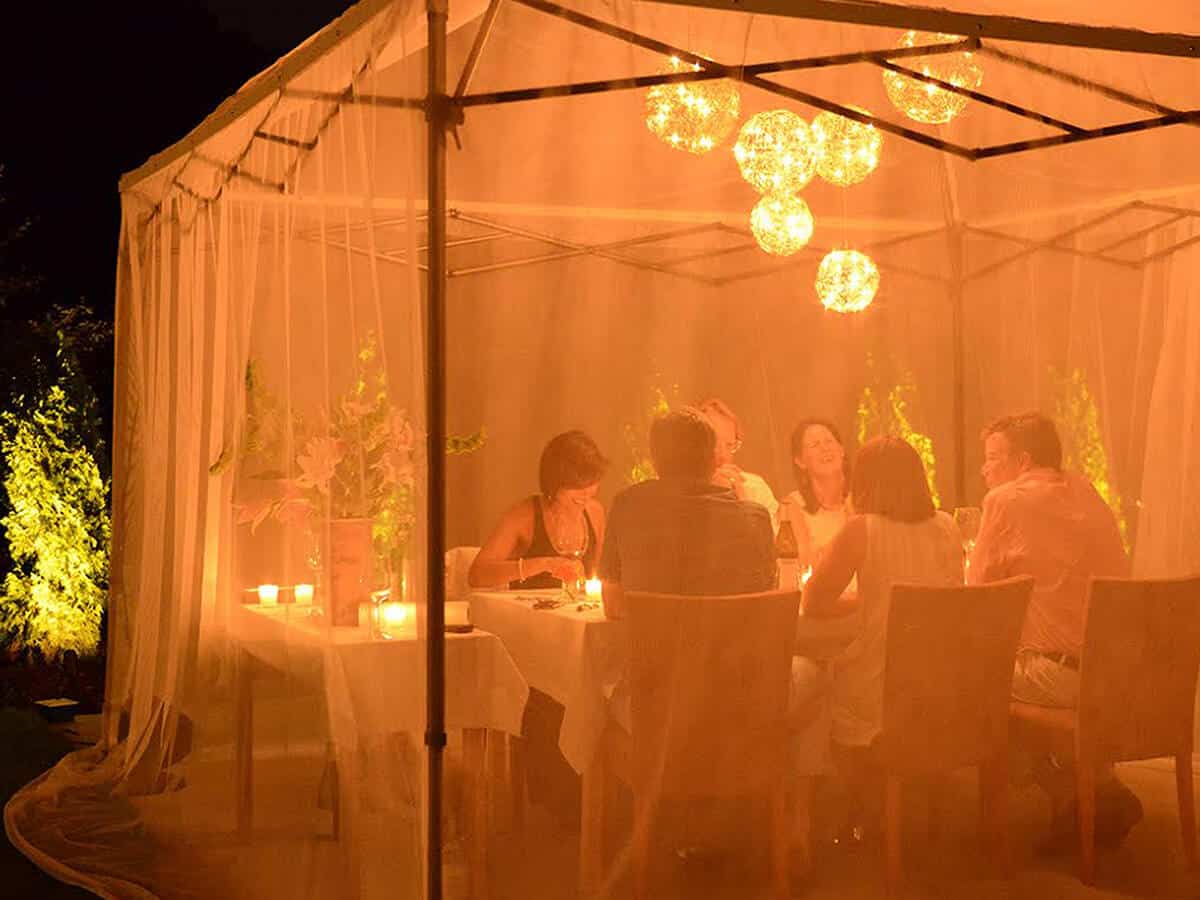
White NoSeeUm
Noseeum Mesh
(For Tiny Biting Flies)
(For Tiny Biting Flies)
Black
White
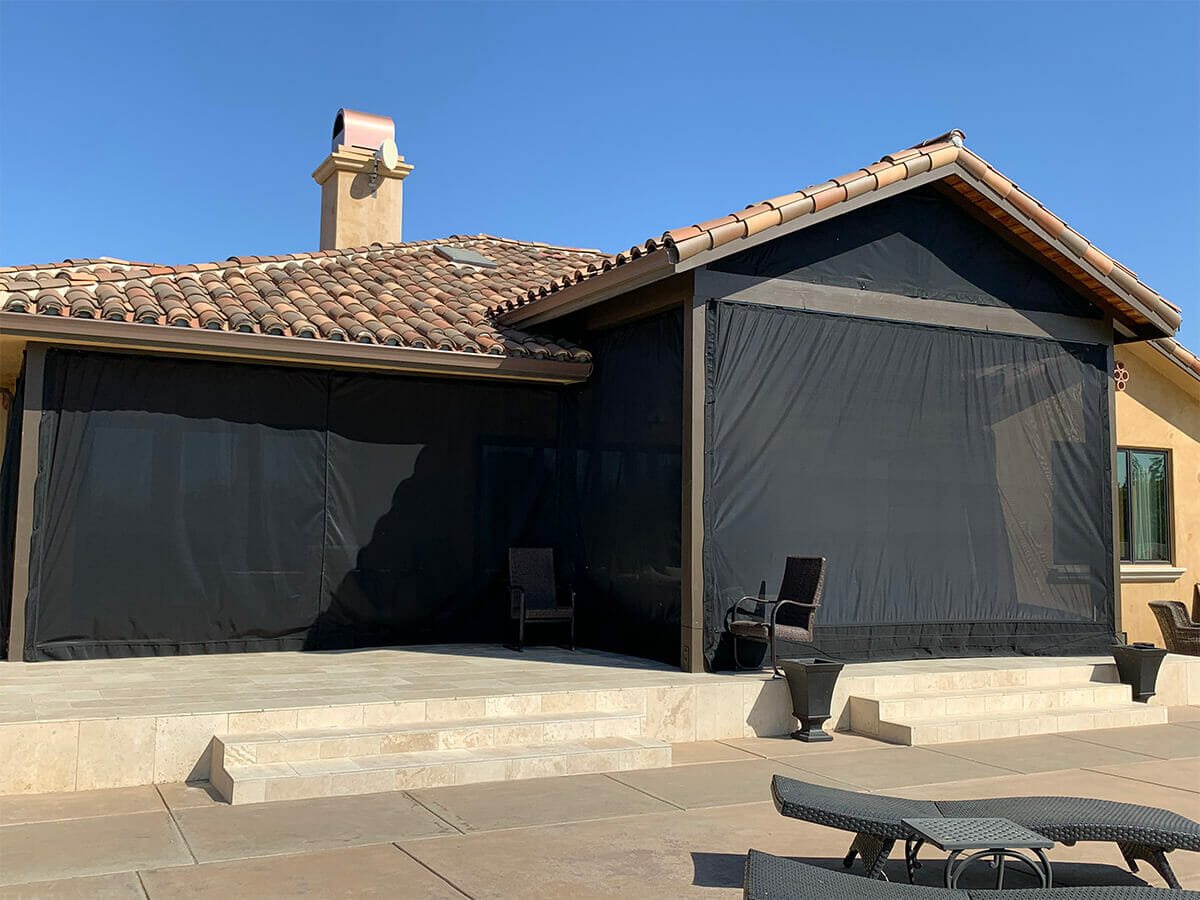
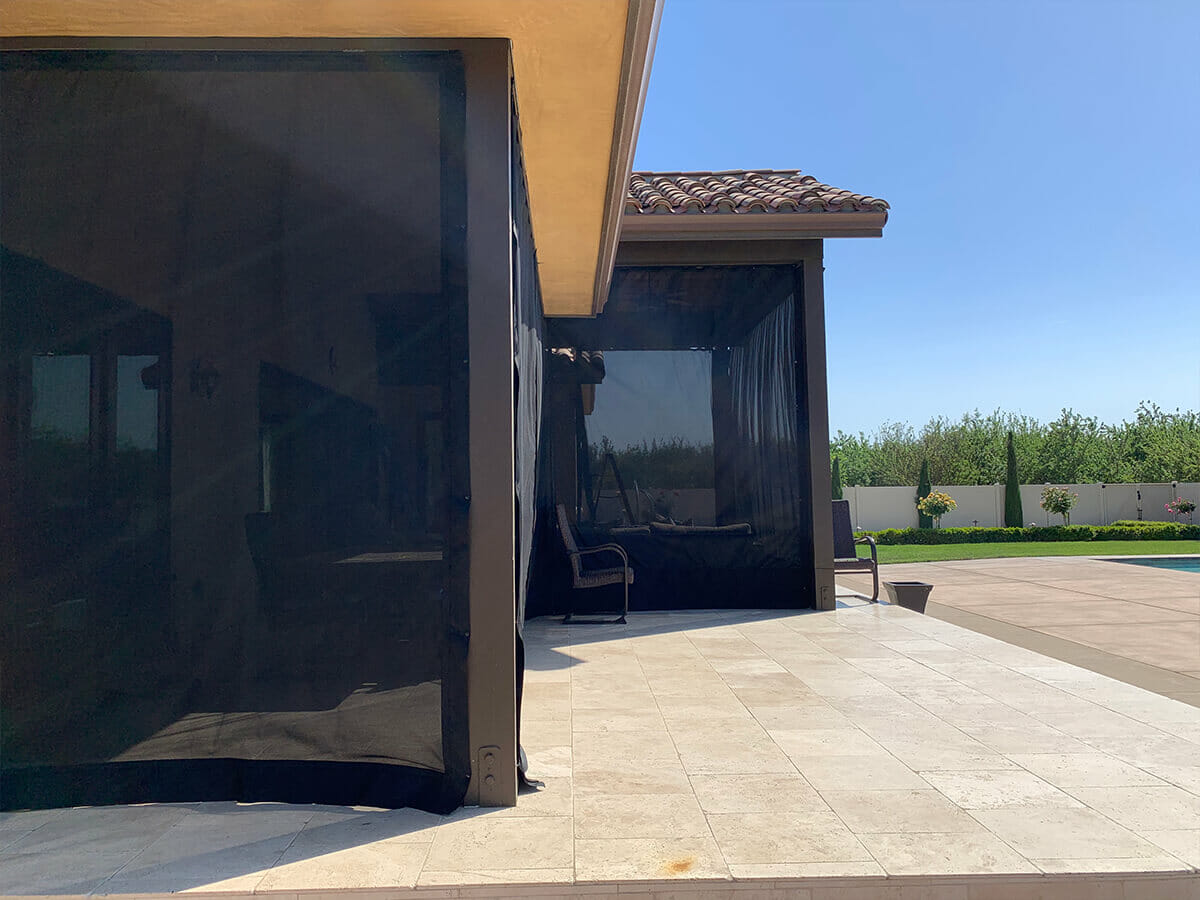
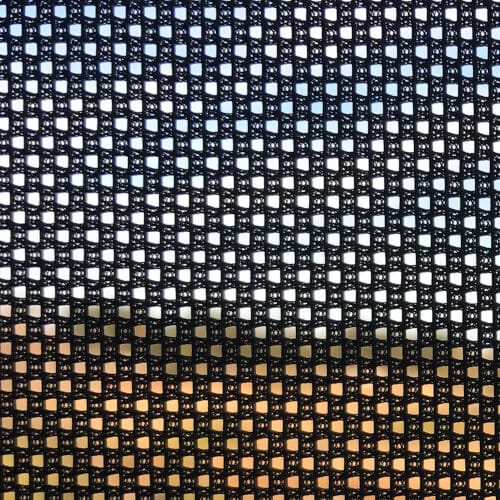
Shade Mesh
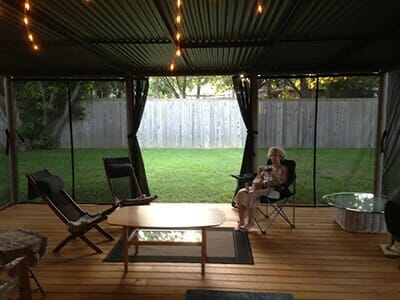
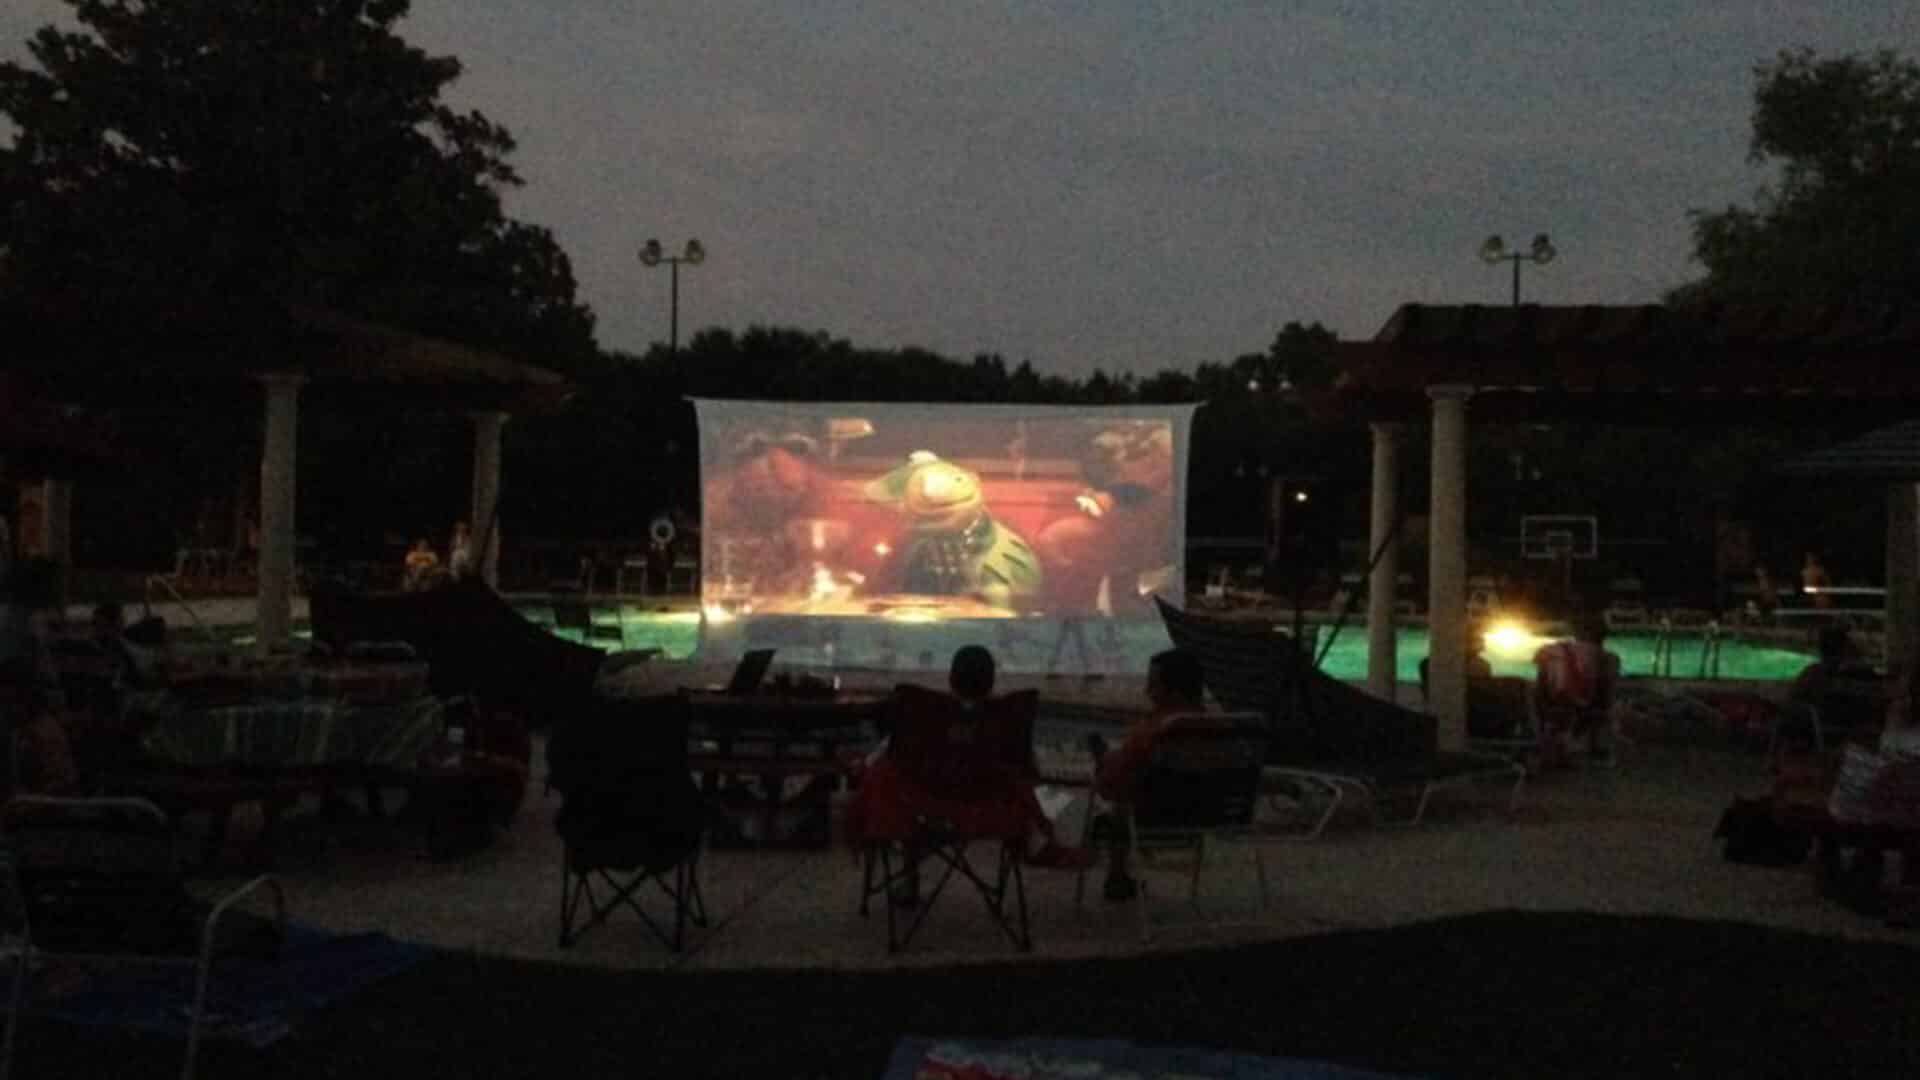
Our Shade Mesh is a unique weave and blocks both insects and 80% of the sunlight with excellent visibility looking out but can be a heavy dark look from the outside looking in. The opaqueness, when outside looking in, also offers a bit of privacy to block prying eyes. White Shade is not appropriate for porches and is for outdoor projection screens.
When to Choose Shade Mesh Netting?
- When you want to take the edge off the harsh sun.
- Yet maintain excellent clarity looking out.
- Provides privacy from outside eyes.
- White Shade is only practical for projecting (otherwise, too opaque)
- See Video Comparison of all colors & mesh types here.
Black Shade
Black Shade
Black Shade

White Shade
White Shade
Shade Mesh
(For Shade & Projection)
Black
White